

Fruit baskets are one of the most universally sent gift baskets. They are so popular because they are great for all occasions! There are also many tutorials online to spice up your baskets and add some flare. In this article, we will be discussing how to make the ultimate fruit gift basket. If you want to send gifts to Canada, check this: Best Canadian Gifts Baskets – Free Delivery ! – Gifts and Baskets.
Creating the ultimate fruit basket takes a lot of time and creativity. This article will provide steps to follow to create a fruit basket. However, ultimately the success of the basket is up to you! Be creative and do not play it safe. The best baskets are the ones that are the most extravagant. This article is a great basis to get you started. Be sure to follow all the tips and tricks provided.
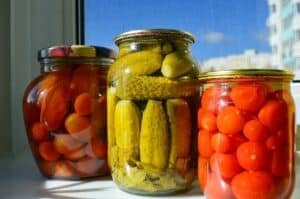 Bottled and Jarred Packaged Goods: A Comprehensive Guide
 The Top 8 Pernod Substitutes For Cooking
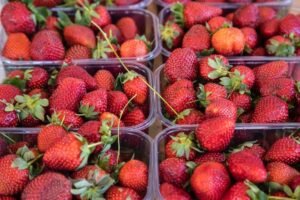 Everything you need to know about strawberry season
1. Inspiration
It is hard to come up with some inspiration for a fruit basket. However, many sites sell gift baskets that could serve as a source of inspiration. If you are stuck and want some ideas, it can be very helpful to go online. For some inspiration, be sure to check out gifts and baskets.ca! They have a variety of different fruit and edible arrangement baskets!
2. What’s the occasion?
Before making or ordering your fruit basket, you must consider what and who the basket is for. For instance, if the occasion is a holiday, you might want to add holiday-themed fruits or holiday decorations inside the basket. Once you figure out the occasion, it is for. This will help you narrow down your search for baskets.
3. How do I start
It is important to construct your basket well. Before starting to fill your basket, you must have purchased all your fruits and decorations. Make a list of all the things you need. Then, go to all the stores. It’s important to buy everything at once to be productive and efficient. Once you begin making your basket, you will not want to stop buying additional products. Once you have purchased everything you need to make your epic basket, you are ready to begin.
4. Placing the fruit in the basket
Place the larger fruit at the bottom of the basket and the smaller fruit at the top. This method will allow for the smaller fruit to not get mashed or damaged. If you have some chocolate-covered fruits, I suggest putting them in a box or on a skewer for better presentation. Once you have packaged all your fruit in the basket, you are more than ready to begin adding some personal flair.
5. Decorating
Once the fruit is all placed in the basket, it is time to decorate the exterior of the basket. You can add ribbons, bows, wrapping paper, and anything else you want. Once you are done decorating, you can place a note explaining who the basket is for and who the basket is from. Once you’re done decorating and adding the final touches, your basket is done!
 What sugar free drinks can you have instead of sweetened beverages?
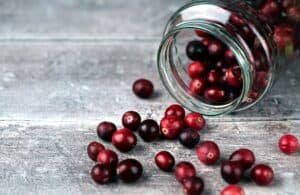 Does cranberry juice make you poop?